Steps to Switch from MFA to a Mobile App
Once Alistar has set up your account for MFA, you'll first receive a call from Microsoft when you sign in to the Alistar Business Cloud.
You can customize this method so that you can use the Microsoft Authenticator app to approve requests from now on.
We've also made a short video showing the steps; check it out here.
Log in to the MFA portal
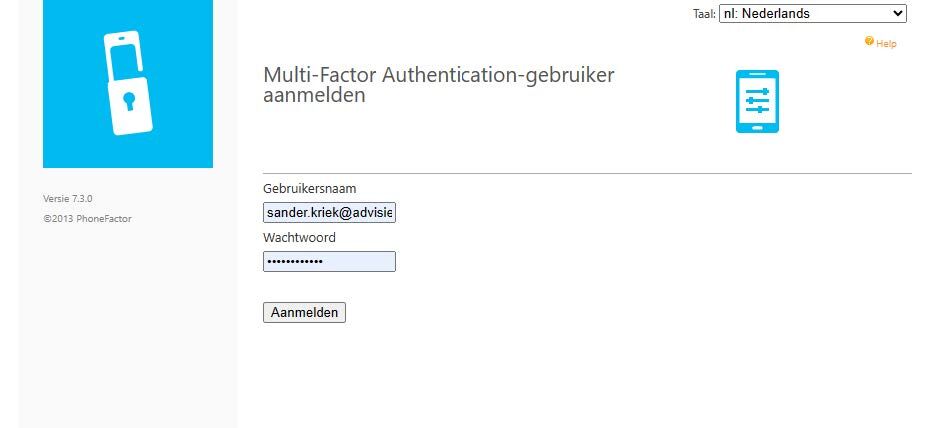
Navigate to this page and log in with your email address and password for the Business Cloud:
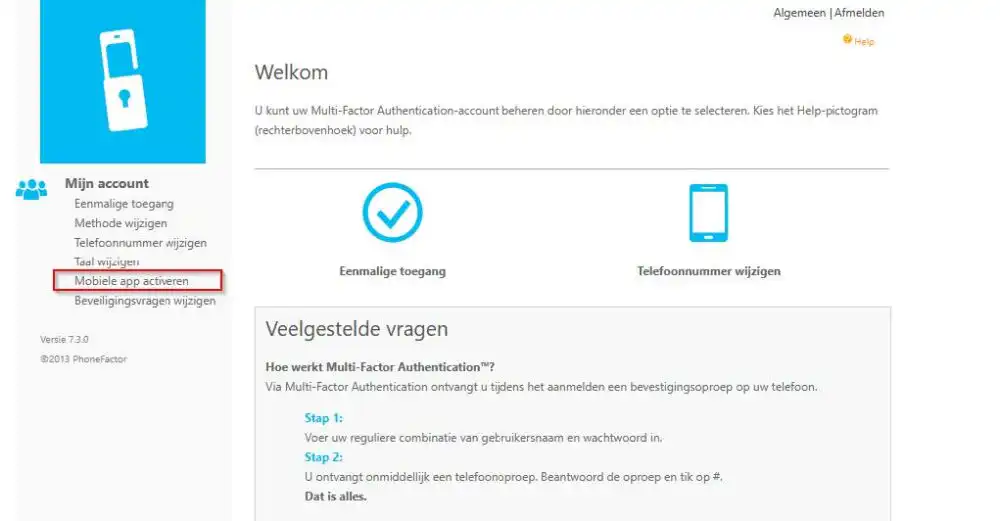
Method – Mobile app
To use this method, select Mobile app and then on Generate Activation Code:
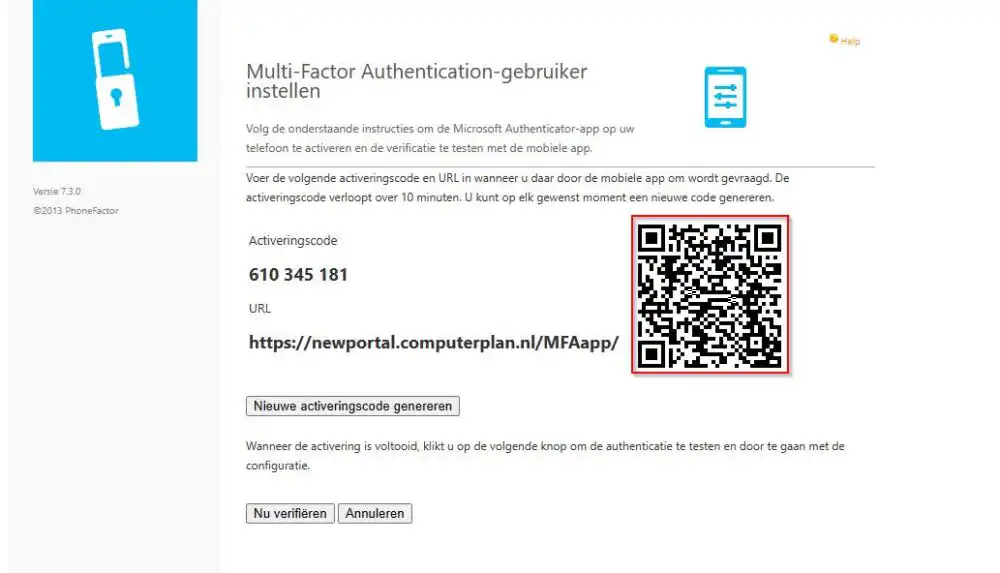
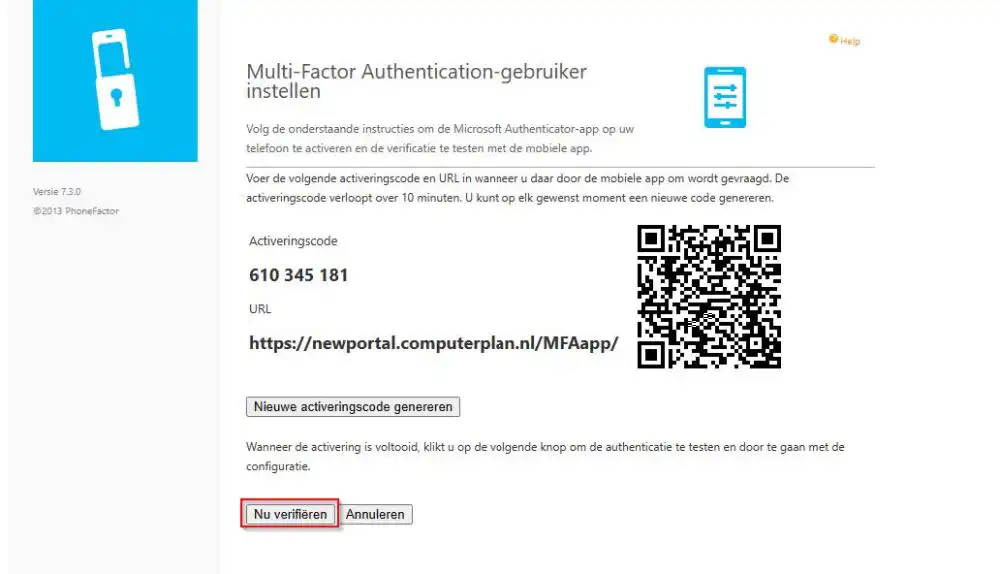
The page then generates a QR code:
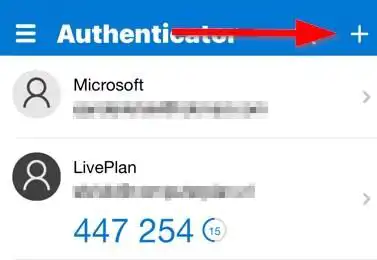
On your smartphone, open the Microsoft Authenticator app and add an account (+):
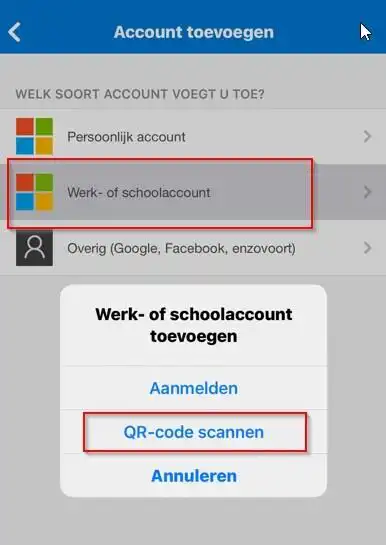
Choose a Work or school account and then click "Scan QR Code":
Point the camera at the QR code, and your account will be added to the app. Then click on Verify Now:
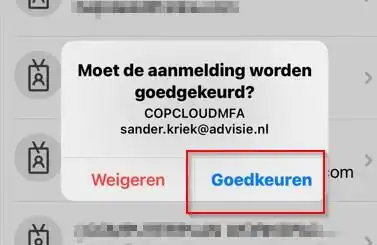
You'll now see a pop-up on your smartphone; select this option Approve:
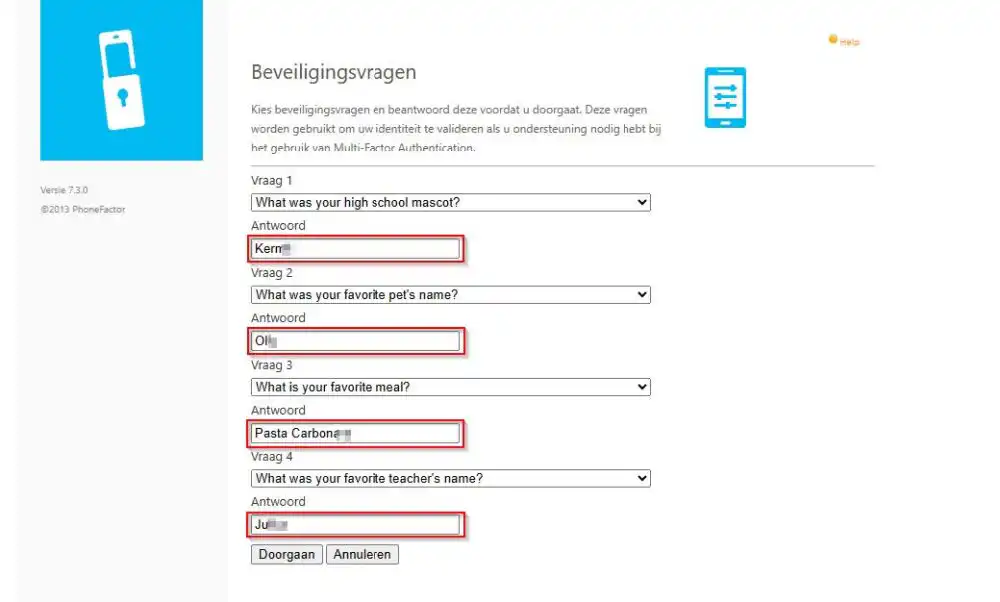
On the next screen, answer the security questions and click "Continue":
Next, click on Change Method on the left side, and change it to Mobile app and save this.
Effective immediately, the MFA method has been changed to the mobile app.
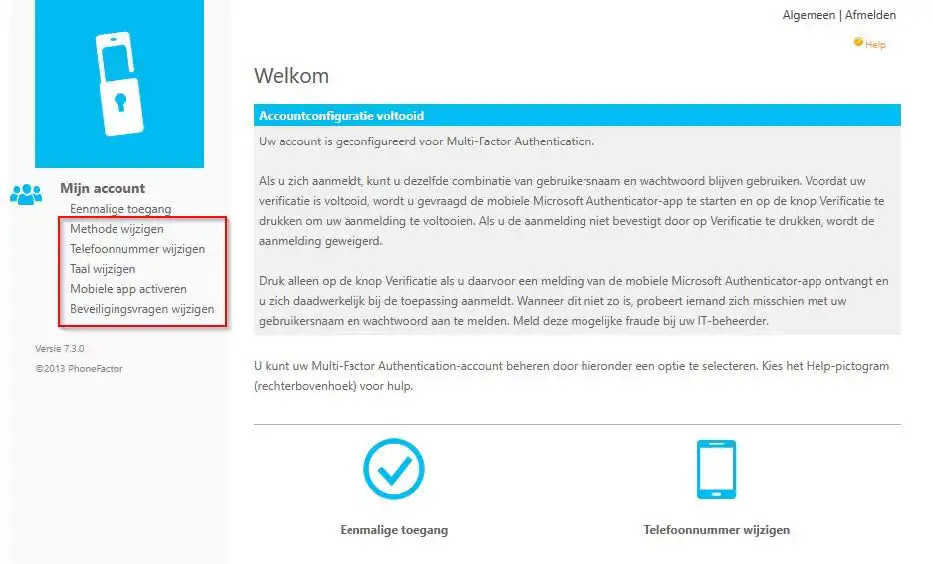
Make Changes Yourself
On the screen below, you can change your payment method, phone number, and other settings if you wish: